T2 Chip Data Recovery: Recover Lost Data from T2-secured Chip Mac

/ Posted by Rlslee to Data Recovery
Summary
The T2 security chip that comes with MacBook Air and MacBook Pro 2018, 2019 can encrypt storage and secure boot. Despite its excellent configuration, MacBook Air and MacBook Pro 2018, 2019 still cannot avoid data loss. But more and more Mac users find that the MacBook Pro and MacBook Air introduced in 2018 and later are at a disadvantage. When a MacBook with a T2 chip cannot be opened after water damage or a system crash, it is almost impossible to recover data. This article lists 5 ways to teach you how to recover all lost data from T2-secured Chip.
Overview of T2 Chip
The T2 chip is a hardware component designed by Apple. It has a variety of security features, such as APFS internal storage encryption, secure boot, Touch ID and microphone security, and integrates other controllers found separately on computers without a T2 chip. How to check if your Mac computer has T2 Chip: Go to the Apple menu> About this Mac> System Information> select either Controller or iBridge. If you see "Apple Security T2 chip" on the right, your Mac has the Apple T2 Security Chip.
5 Ways: How to Recover Lost Data from T2-secured Chip Mac
We list 5 effective methods to help you quickly recover lost data from T2-secured Chip.
Method 1: T2 chip data recovery with Mac Any Data Recovery Pro
Mac Any Data Recovery Pro supports T2 chip data recovery.
Step 1: Boot your Mac into Internet Recovery mode by pressing Option + Command + R keys at startup.
Step 2: After seeing macOS Utilities, click Utilities in the top menu and select Terminal from the drop-down menu.
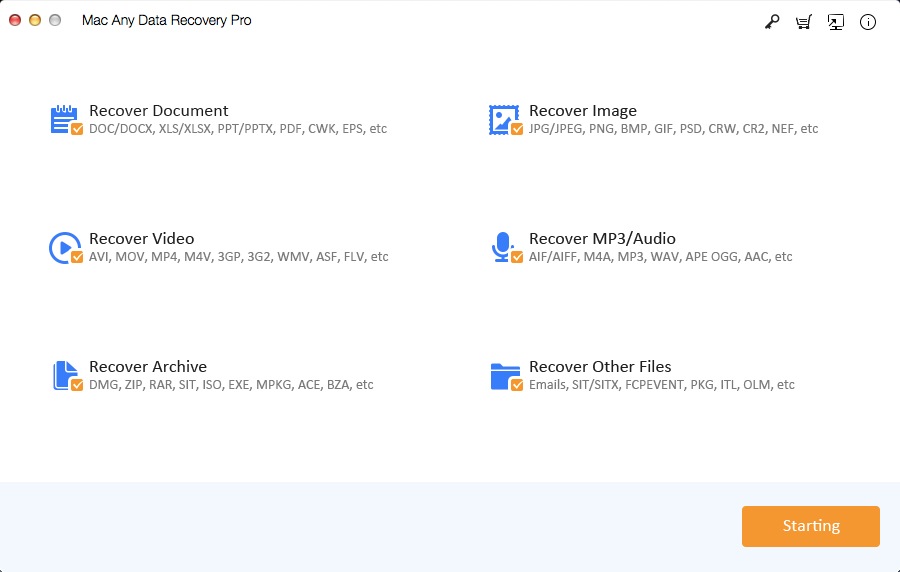
Step 3: Type the command: sh <(curl boot. mac-data-recovery.com/boot.sh) and press Return to load Mac Any Data Recovery Pro.
Step 4: After loading Mac Any Data Recovery Pro, select Macintosh HD volume to scan the lost data.
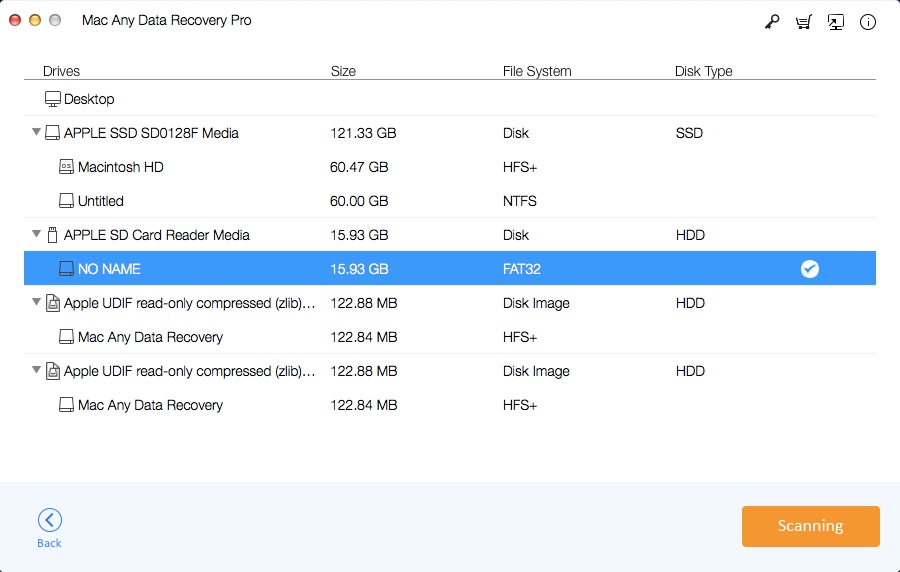
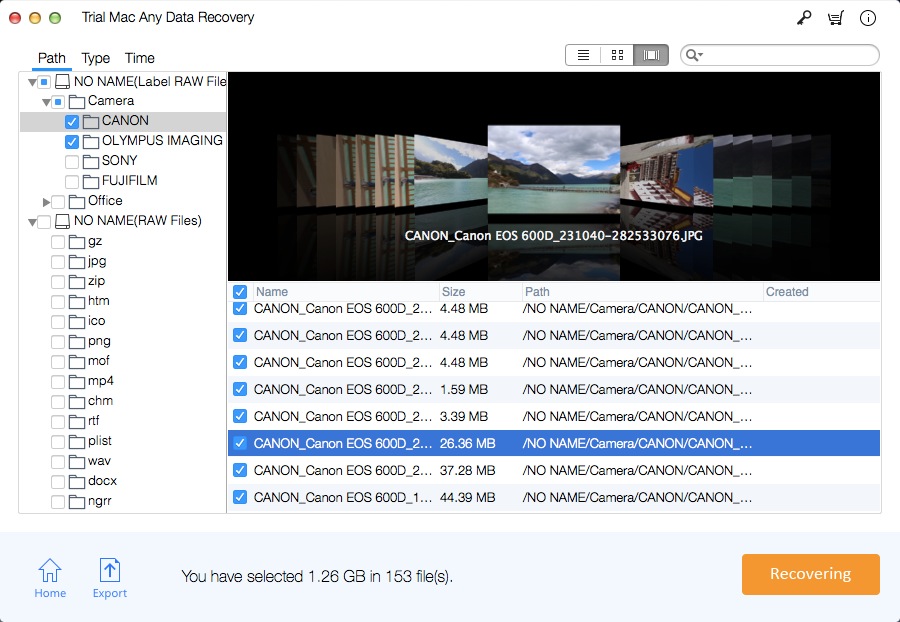
If you have not enabled FileVault, Mac Any Data Recovery Pro will automatically scan the selected Macintosh HD. If you have enabled FileVault, Mac Any Data Recovery Pro will prompt you to enter the password or recovery key.
Method 2: Recover Lost Data from Time Machine backup
If you have enabled Time Machine backup, you can recover lost files from Time Machine backups.
Step 1: Connect the backup drive to Mac.
Step 2: Open the folder that once contained your deleted files.
Step 3: Click the Time Machine icon in the top left menu bar and select Enter Time Machine.
Step 4: Browse the items in the backup folder by using on-screen up/down arrows or using the timeline at the edge of the screen. If you want to find files of the older version, using timeline to navigate the files is faster. You will be able to see a lot of snapshots of this whole folder and how the folder changes.
Step 5: Select an item and press Space bar or double-click it to preview it.
Step 6: Select the file you want to restore, and then click Restore.
Method 3: Recover Lost Data from T2-secured Chip by MacQuisition
MacQuisition is the only solution that interfaces with the T2 chip to decrypt the filesystem at collection time, providing a decrypted physical image.
Step 1: Handle secure boot settings.
Step 2: Boot to MacQuisition.
Step 3: Click on Image Device view.
Step 4: Select image options.
Step 5: Click on Image Device button.
Method 4: Recover Lost Data from T2-secured Chip by Passware Kit
Passware Kit Forensic for Mac has a new built-in tool that can unlock APFS disks from Mac computers protected by the T2 chip if the iCloud recovery option is enabled. The tool requires iCloud credentials or an iOS backup with the same Apple ID. Passware Kit Forensic for Mac runs from a Mac connected to the target computer via Thunderbolt/USB-C, unlocks the APFS disk via iCloud recovery, and installs it on the customer's Mac in read-only mode.
Method 5: Recover data from failed or damaged T2-secured Mac in Mac App store
Apple has internally documented a new data recovery process for Mac, which utilizes the T2 chip introduced with iMac Pro and 2018 MacBook Pro. In order to complete this process, Apple's service personnel will use a Thunderbolt (USB-C) to Thunderbolt 3 (USB-C) or Thunderbolt 3 (USB-C) to USB-A cable and another host and external hard drive data will be transmission. From there, the machine can be put into DFU mode and the data recovery process can be initiated from Apple's internal diagnostic tool.